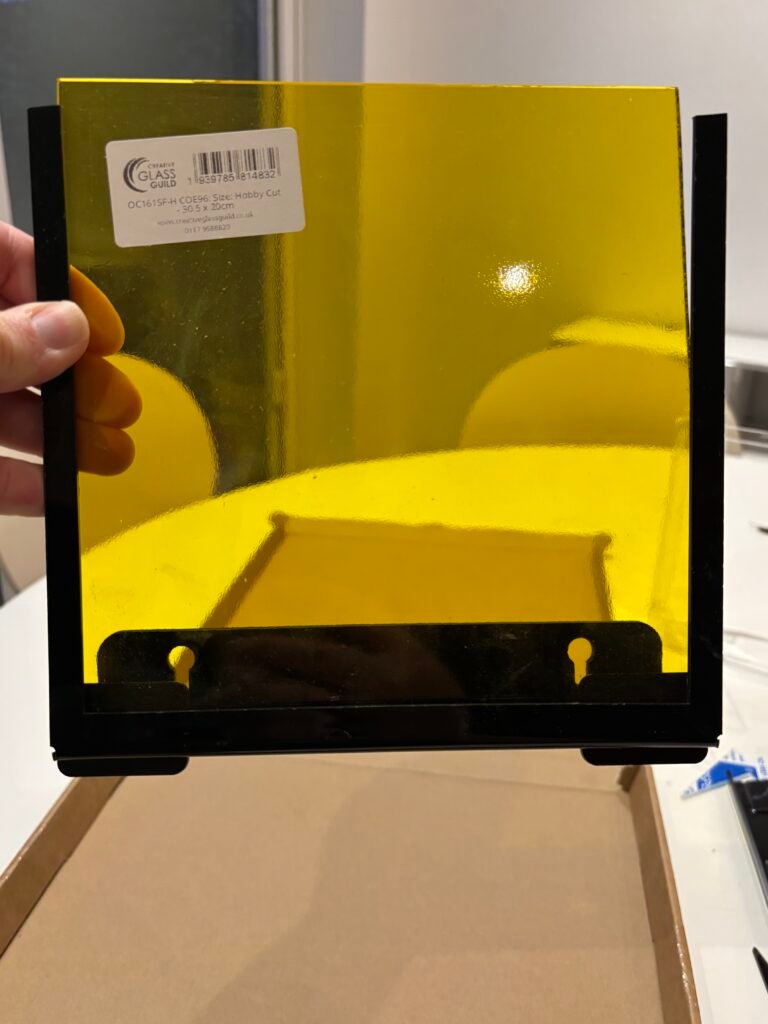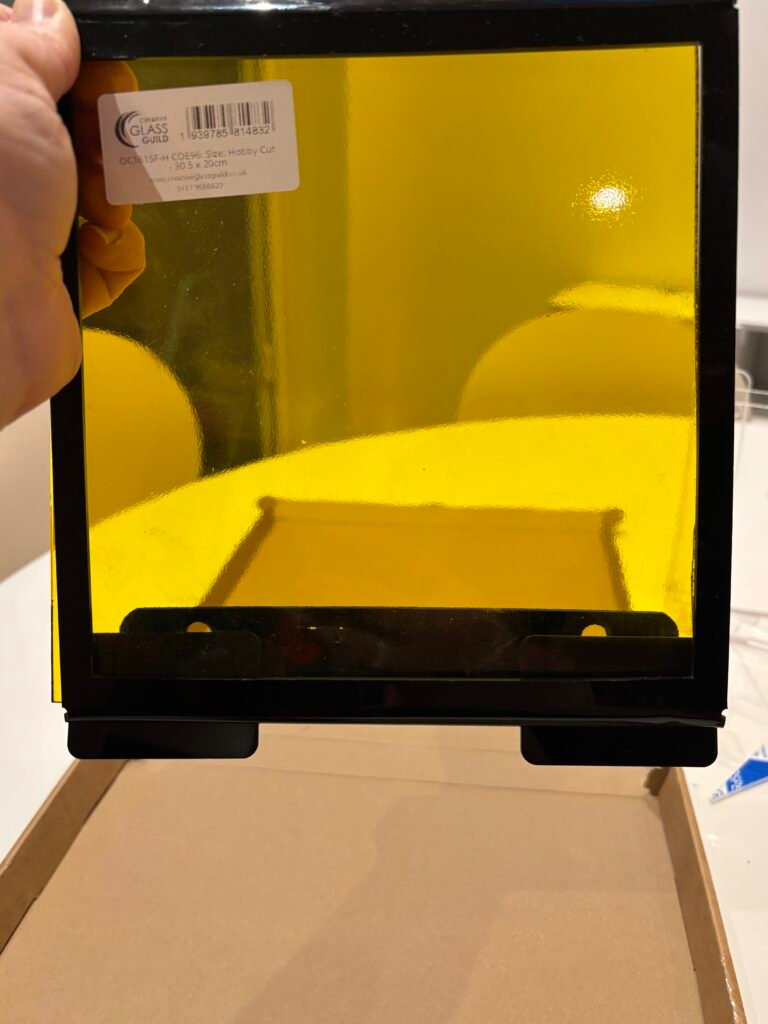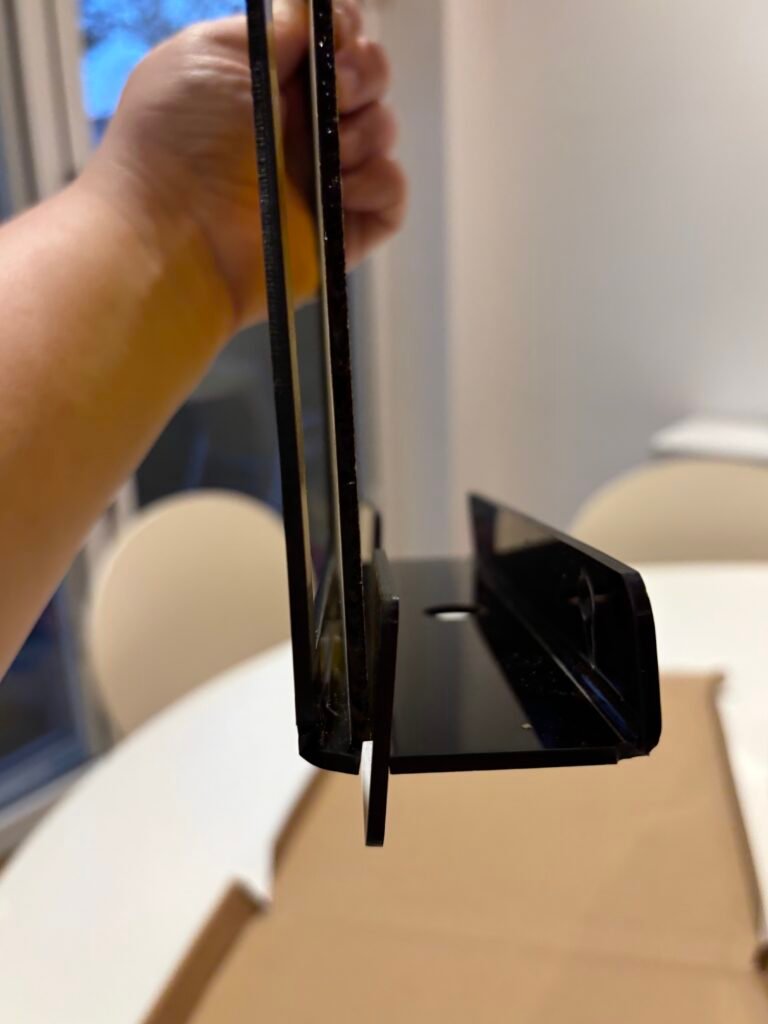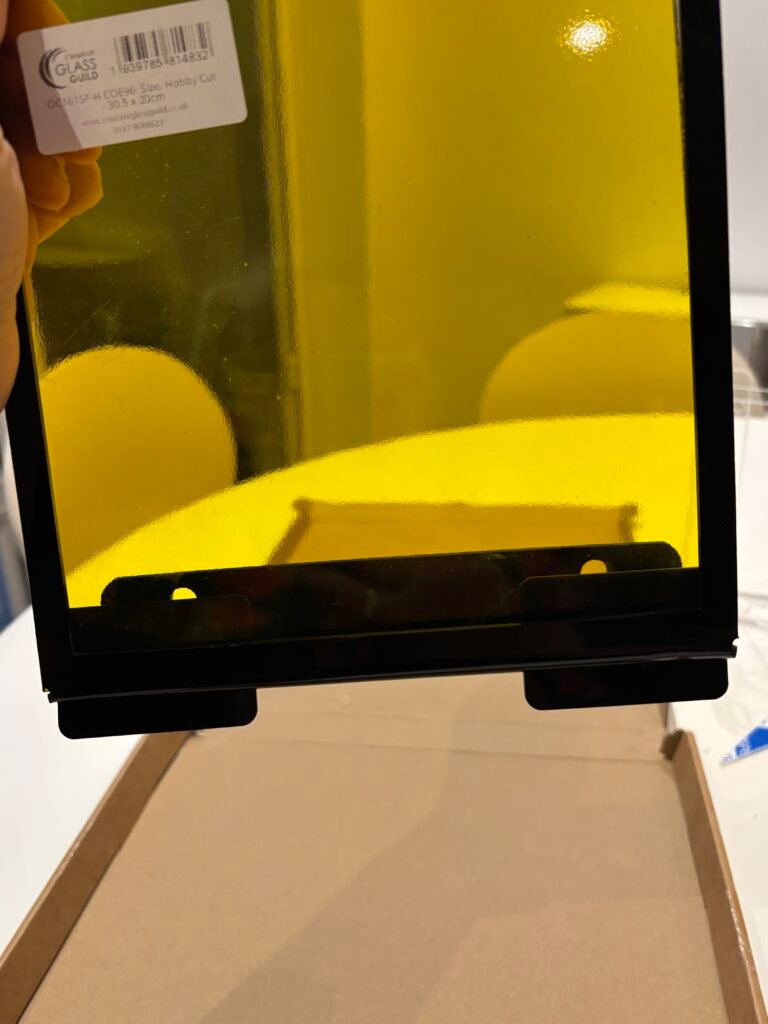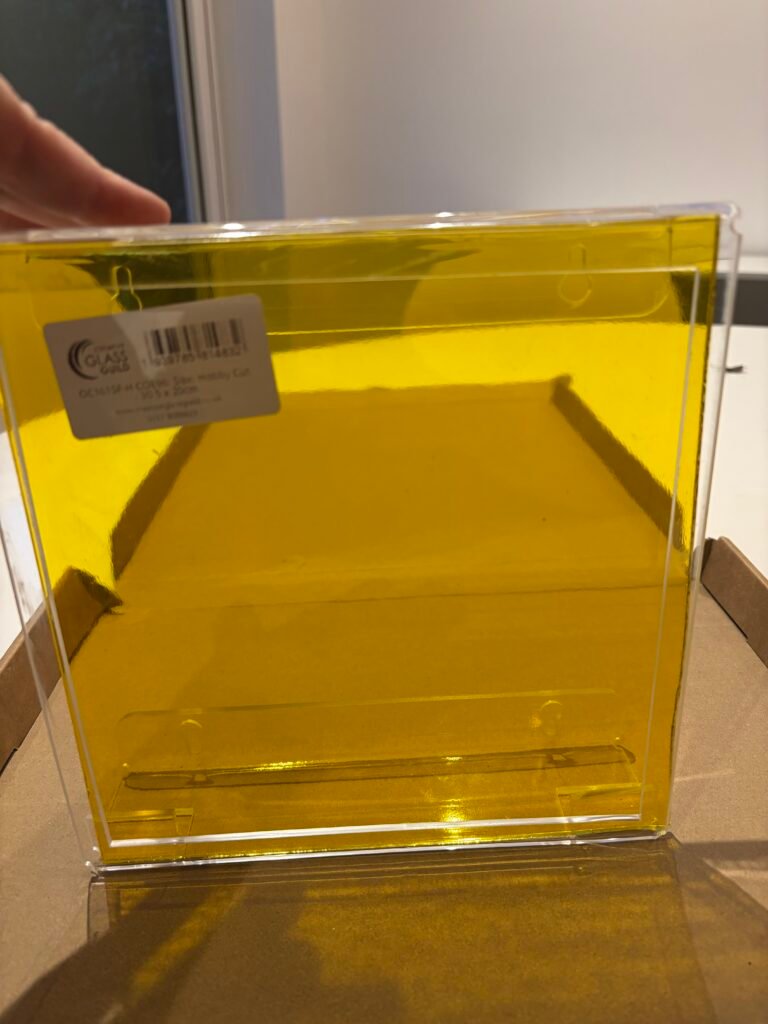
We have progress!
Test one
I have been using a laser cutter and acrylic bender today to make a prototype frame out of Perspex.
I used Adobe Illustrator to draw a flat frame – black lines for full cuts and red lines for scores. On first go, I just used clear plastic as the technician had some spare offcuts. The laser cutter works really well so we got a clean cut.
This is a laser cutter at the University of Huddersfield where I work so I have free access to this equipment (plus a very kind colleague!)
It took less than 2 minutes to cut this in full.
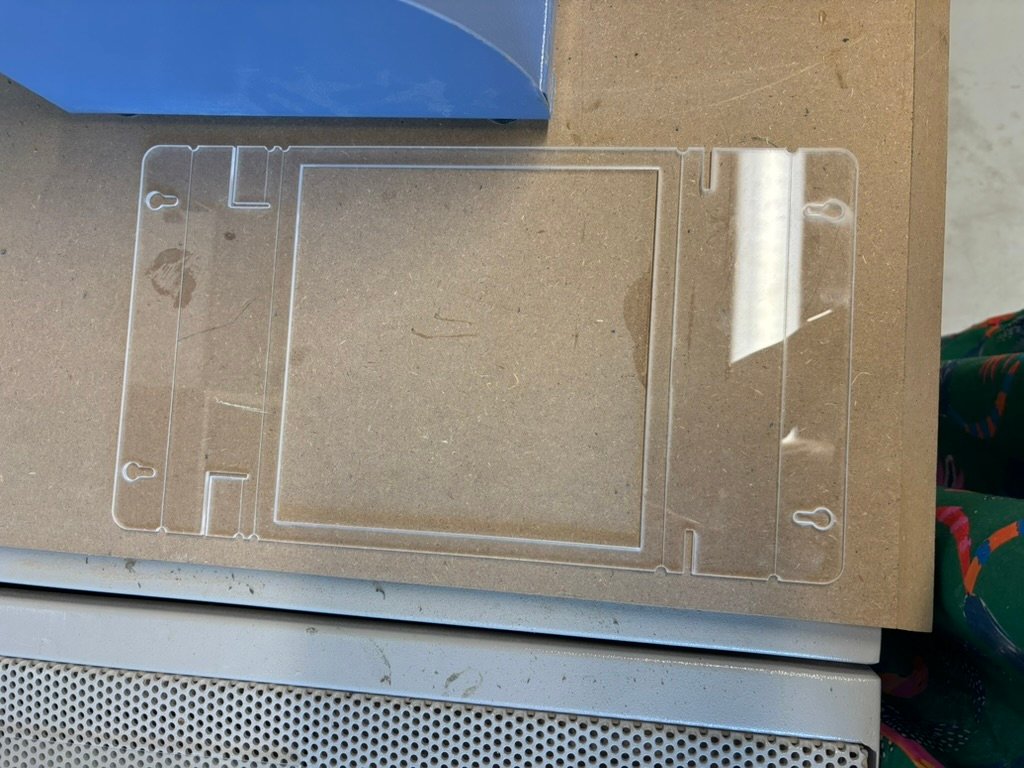
This is the flat cut piece of clear perspex. So the next step was to bend this to make it 3D so it sits away from a wall. The studio at the university has a heat bender available. Its essentially two pieces of wire that get incredibly hot, making the plastic malleable and you then have a limited time to bend it along the score lines.
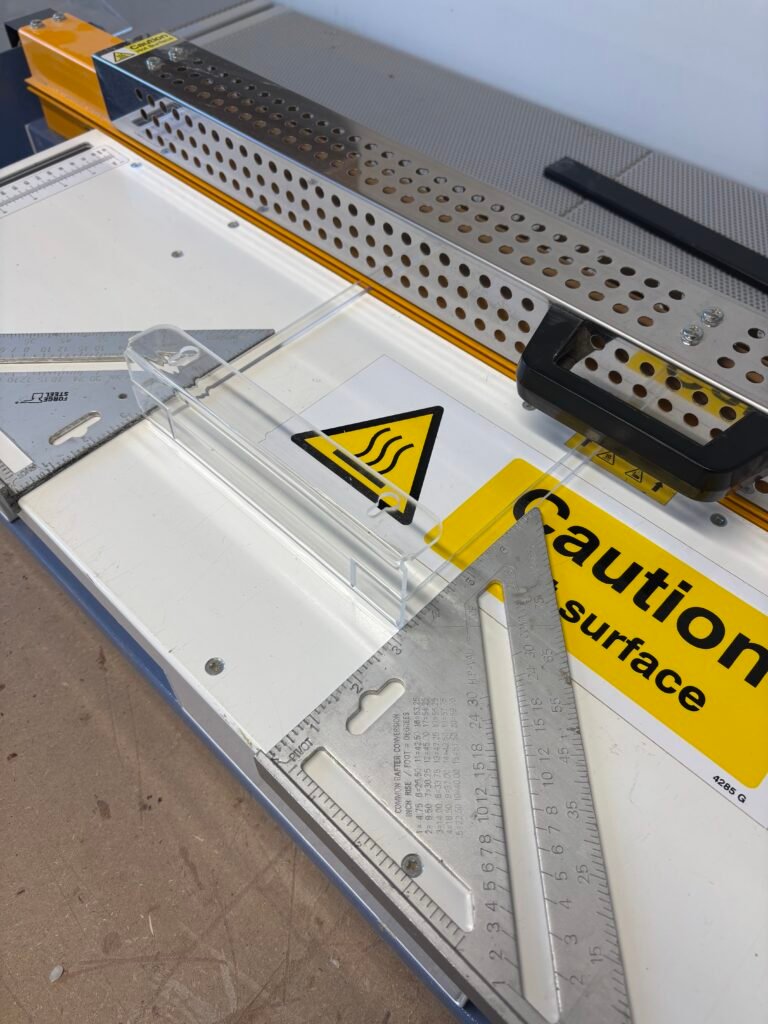
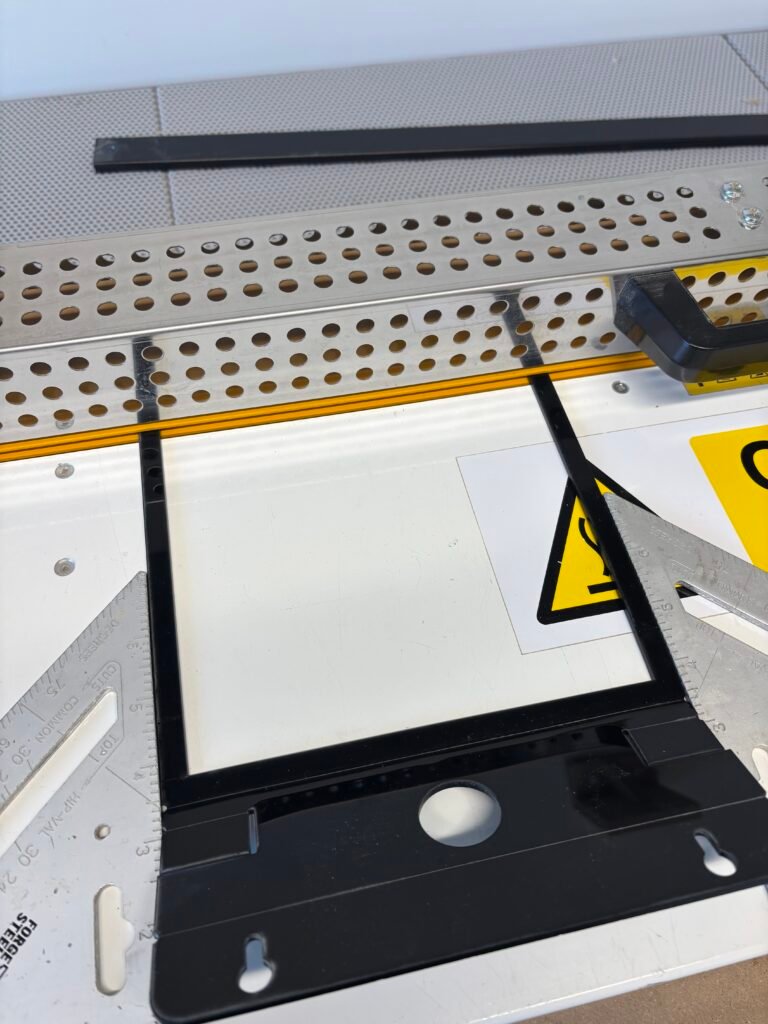
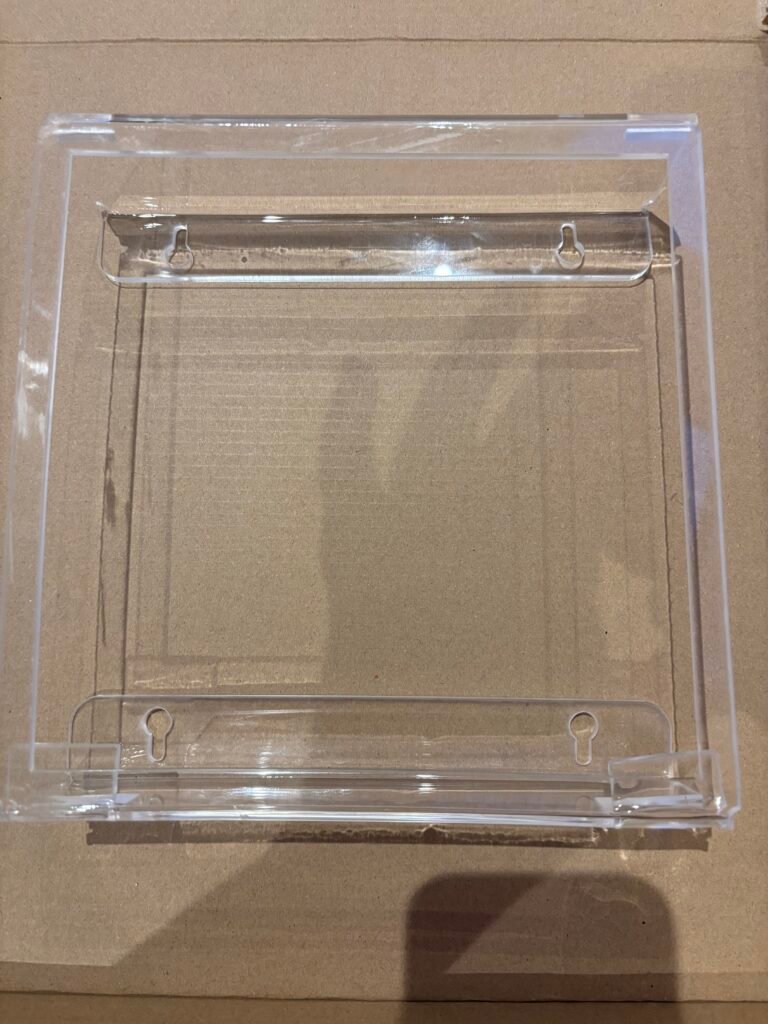
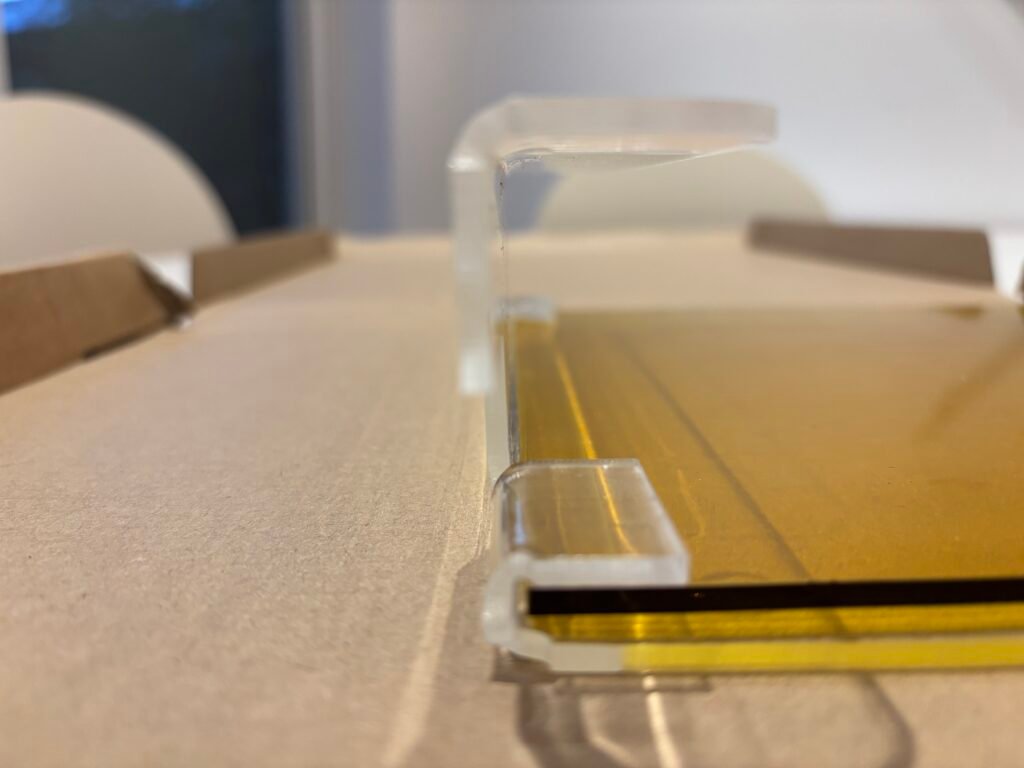
This first go was a big success. What I found was that it took approximately an hour from start to finish. The plastic was easy to bend but it had to be done quickly. I was using scraps of wood of various sizes as jigs to create the 90 degree angles and used quick clamps to hold it all down. The aesthetic of the plastic isn’t great next to glass though, as its weird having plastic and glass in the same piece. The clear meant it just looked a little cheap and you would be able to see any rough edges and the fittings. The two ‘flaps’ which are there to hold the glass in place were the hardest bit. The heat bender can’t do localised heat without it running the full width of the sheet, so by heating the flap, it also heat up a piece that I didnt want to bend. This made it a little droopy. Then the 2nd flap we tried using the heat of a paint stripper instead. This was more eratic and while I was able to only bend the flap, it warped the plastic a little as it got too hot.
So I was confident moving onto the black plastic. There were some tweaks to be made to the design.
1. I made the tiny notches smaller as they were unnecessarily big (5mm down to 3mm. These help prevent fractures at the bend points)
2. I made a hole for the light to go! duh can’t believe I forgot that
3. I moved some of the fold lines that were slightly too far apart
Test two
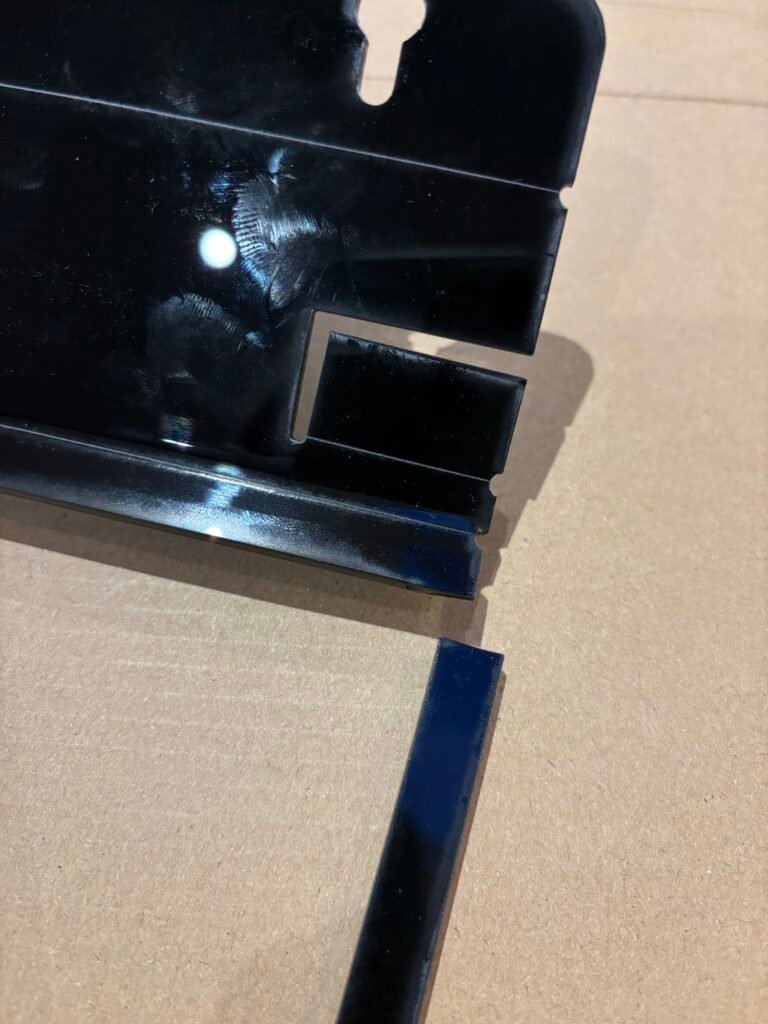
Unfortunately, once we were working on the black Perspex, this is when it went a little wrong. On the first go, I didn’t fold the plastic in time as I accidentally nudged the jig causing it to be out of place. by the time id moved it back, the plastic had cooled and wouldnt bend properly. So I put it back under the heat and tried again but apparently, the plastic doesn’t like that and it snapped as I bended.
I’m trying to keep the frame delicate because obviously I want the glass to be the hero so was wanting the frame to be quite thin. However, this causes weak points which is where this one snapped. I still continued to practice on this broken piece and realised I needed to start timing the length of time it was under the heat bender as it wasn’t quite hot enough when I’ve forced it a little too hard.
This perspex was Perspex® Black/White Cast Acrylic Sheet, Thickness: 3mm, Colour: Black 962. It didn’t feel any different to the clear acrylic but perhaps different colours have different brittleness. Something to look into next?
Test three
So I only had one sheet of this. I had to move onto a different material for the next go. This next one was Perspex®re – 100% Recycled Black Cast Acrylic Sheet, Thickness: 3mm. It was slightly more expensive. But I couldn’t tell any visible difference and it felt like it handled the same way too.
The next go went so much better. I had learned that 1 minute 40 seconds was a good amount of time to leave the perspex under the heat bender. And I did all four main folds with ease. It was looking perfect! Alas, on the final bend, the machine broke – one of the two wires snapped. This is something that happens every so often on these machines apparently – particurly when not used often. As it snapped it has whipped my plastic causing a scar across the surface. So I decided to try using the paint stripper again for the final two folds – the two flaps.
I was so disappointed when the frame snapped in half at the same point as last time where it is weak around the corner of the frame hole. As the machine had broken, I couldn’t just cut again.
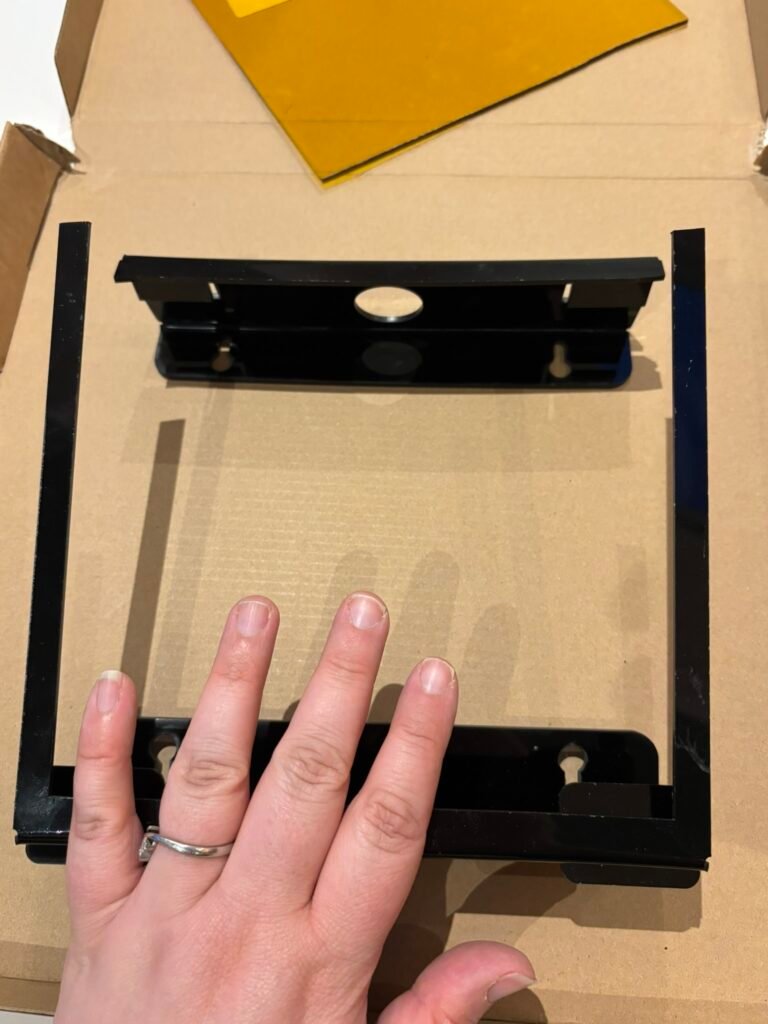
So I’ve had to leave it for today but with a clear plan about whats next.
- I need to round the inside corners of the frame – the 90 degree corners will be adding to the weakness at these pressure points. Rounding them off will strengthen it immensely.
- The main issue is the flaps. I need to reconsider a different way to ensure the glass can stay secured within a frame that has no back.
- The second fixture style I tried was a little uglier, so I need to find a way to make these seem a little more visually pleasing.
Despite the two broken frames at the end of the day, this is still a promising style of frame. The black actually looks good with the glass behind it. Perspex plastic is relatively cheap. Laser cutting is easy (while I have easy access to a machine that I am allowed to use). The bending does have to be done by hand which is where the highest potential failure is, but I do believe this is a skill that can be improved. So I will return to this asap once the machine is fixed.